Register your school and try our system for one months without any commitment.
Ultimate School Management System provides all the necessary tools for successfully managing your school. Automate all your work with our ultimate solution.
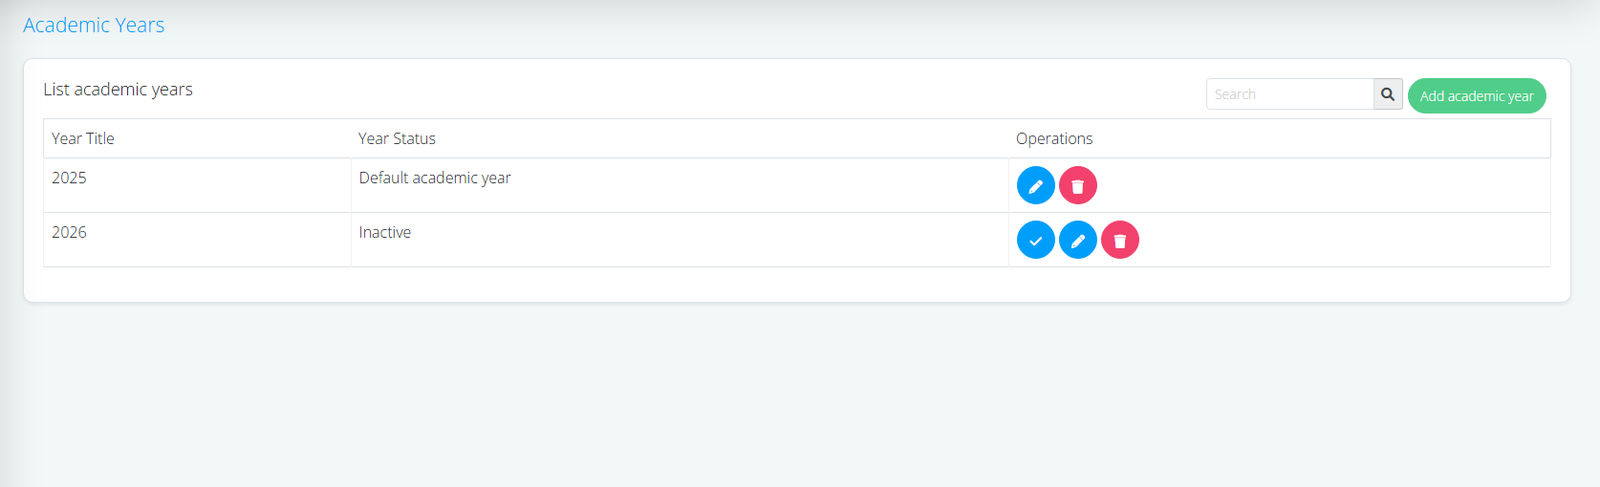
By default you will have only one academic year. Create new academic years to promote students to during promotions.
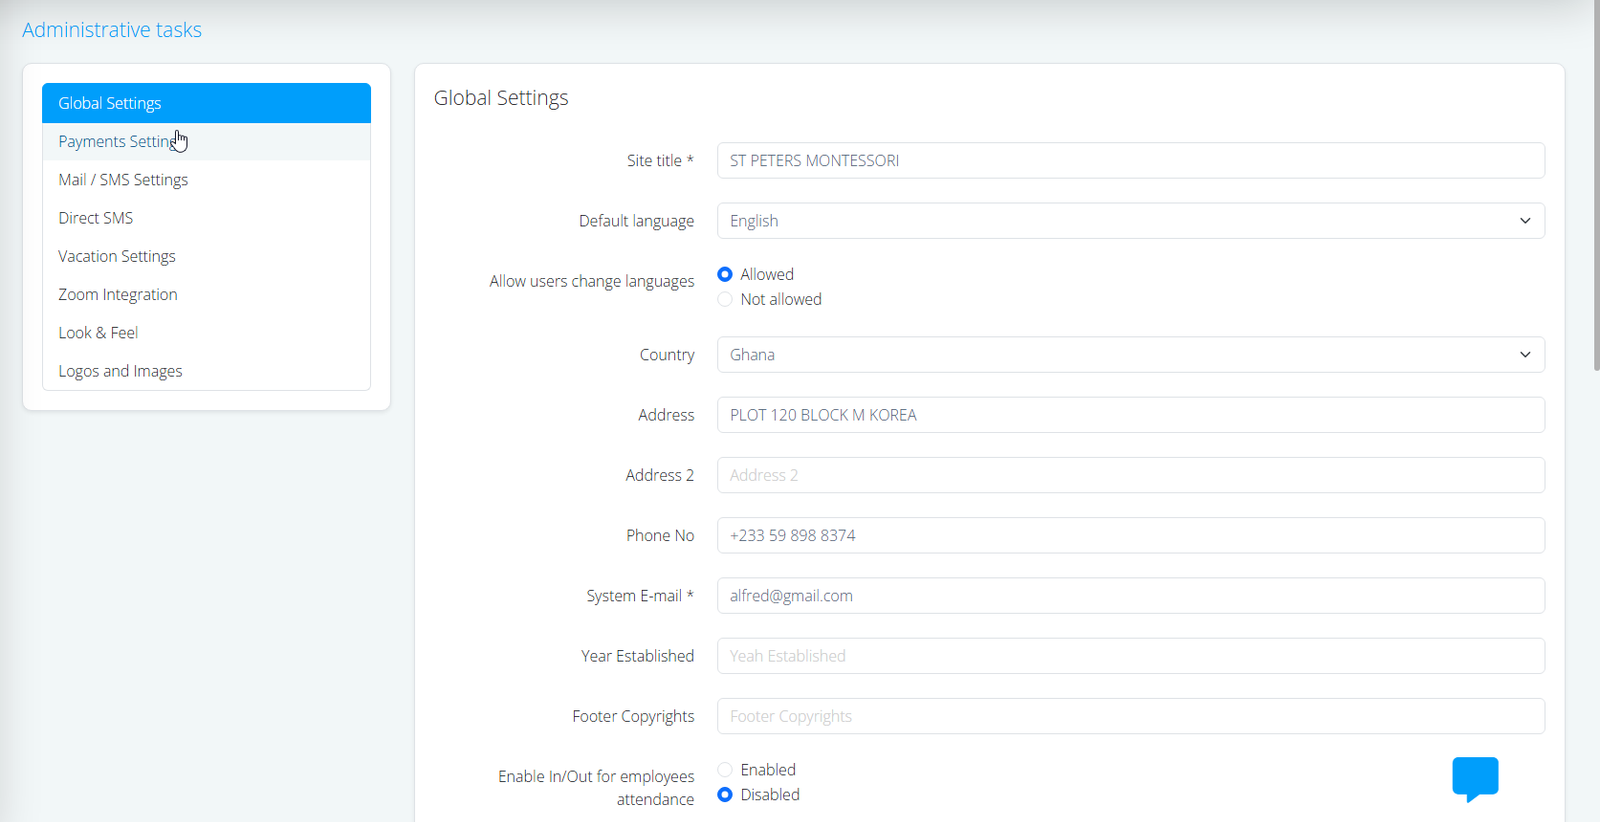
2)General Settings
Global Settings
Setup your global settings
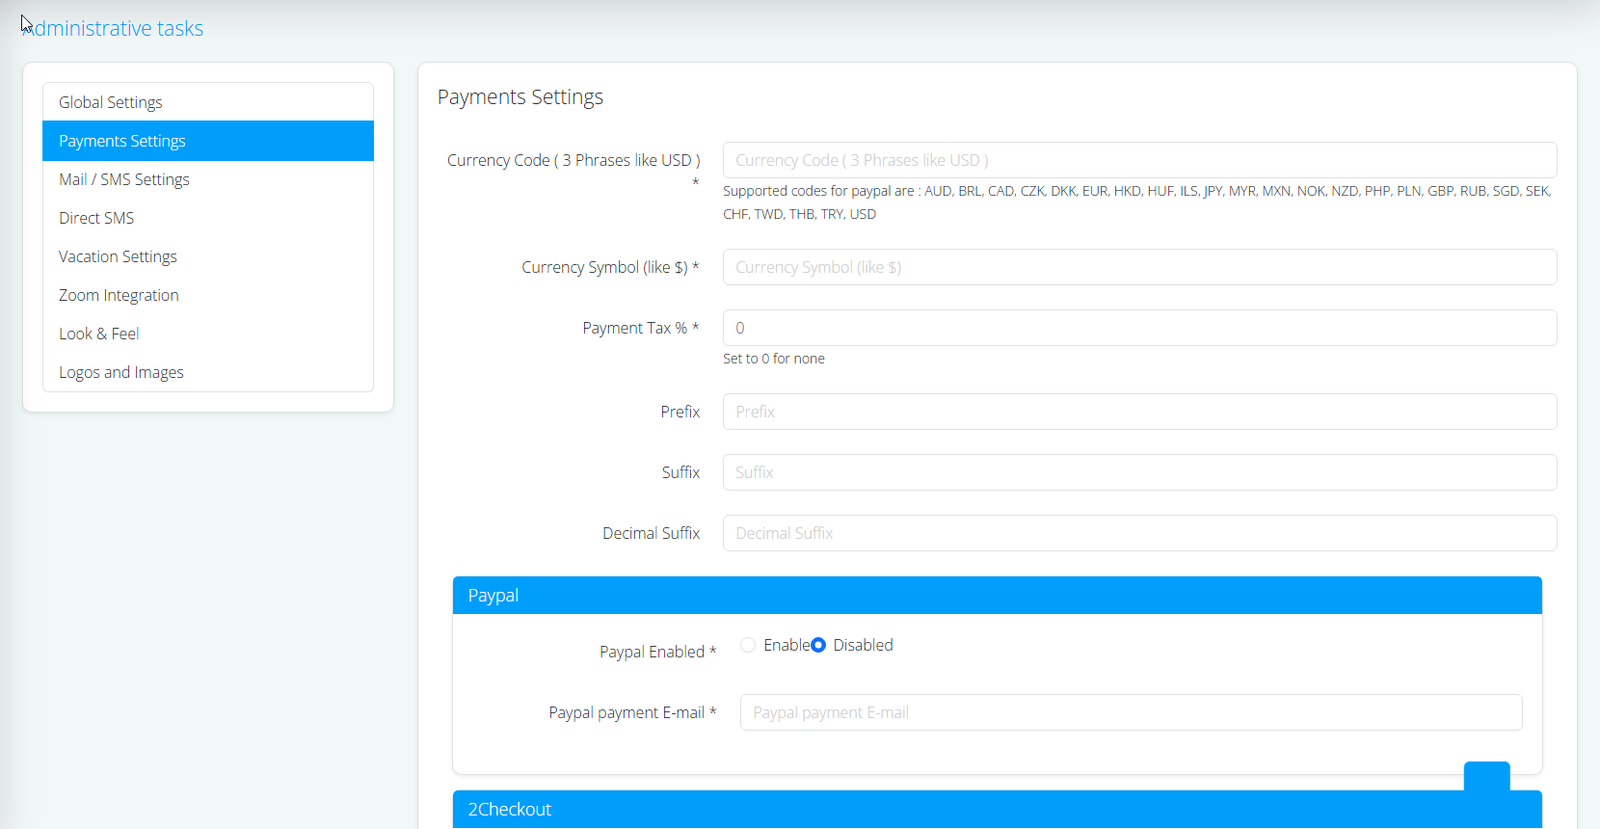
Payments Settings
Configure your payment settings eg currency code etc
Vacations Settings
Setup commencement and vacation dates, weekends and holidays in the year.
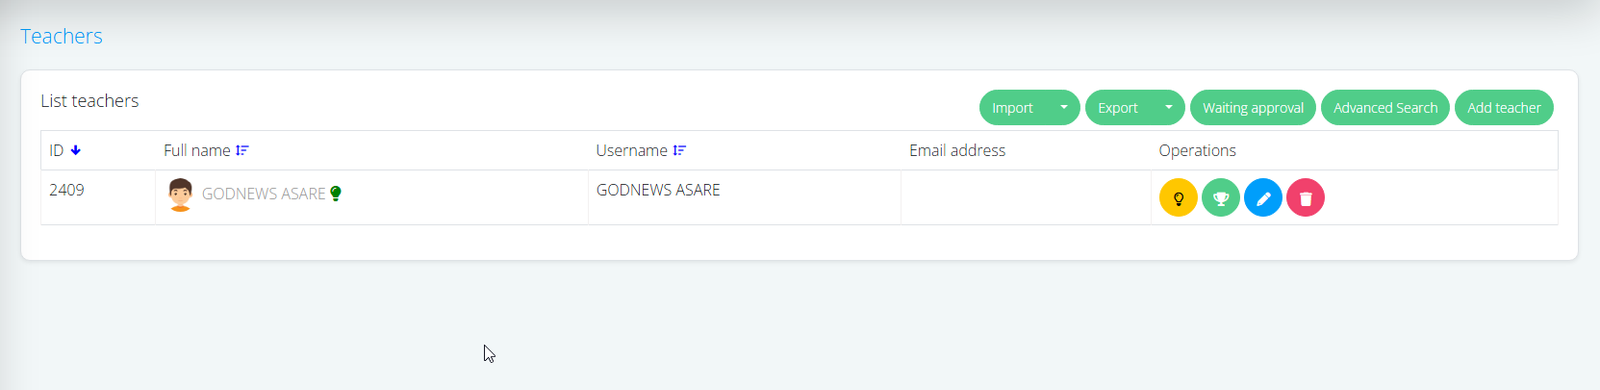
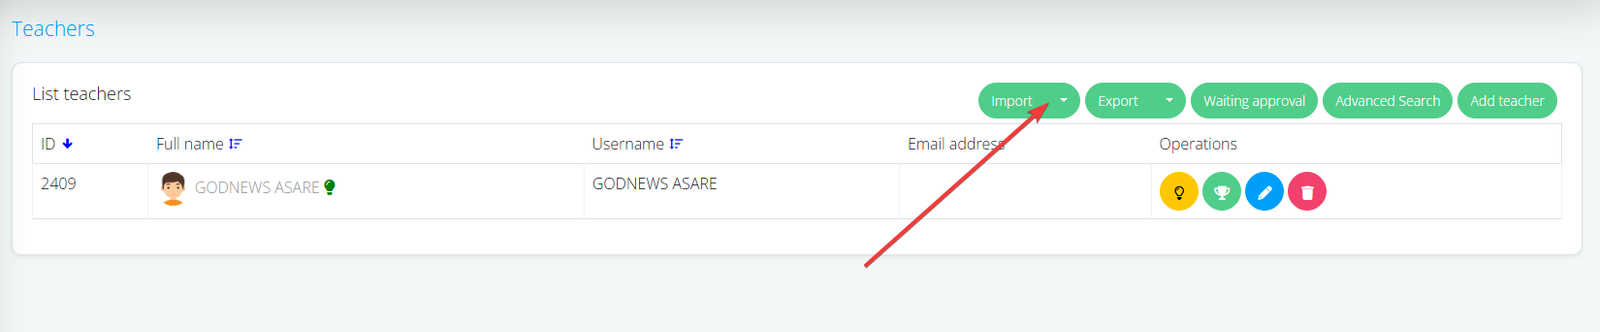
3) Teachers
Import or create Teachers. To import , click on the import button and download template for your import. Follow the example in the template to ensure data consistency.
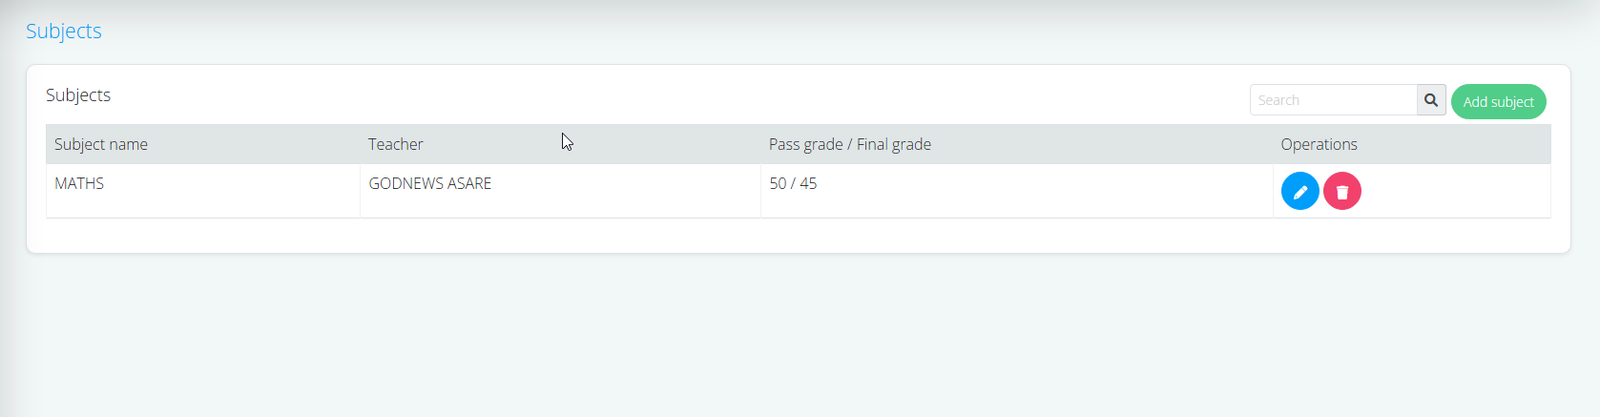
4) Subjects
Create Subjects and assign Teachers to it.
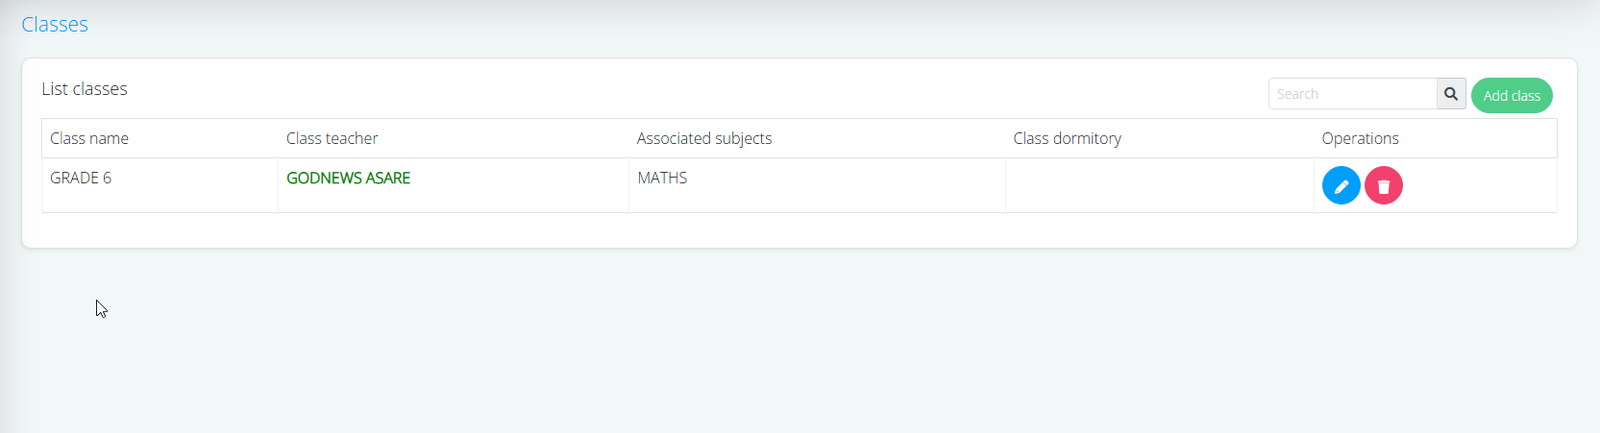
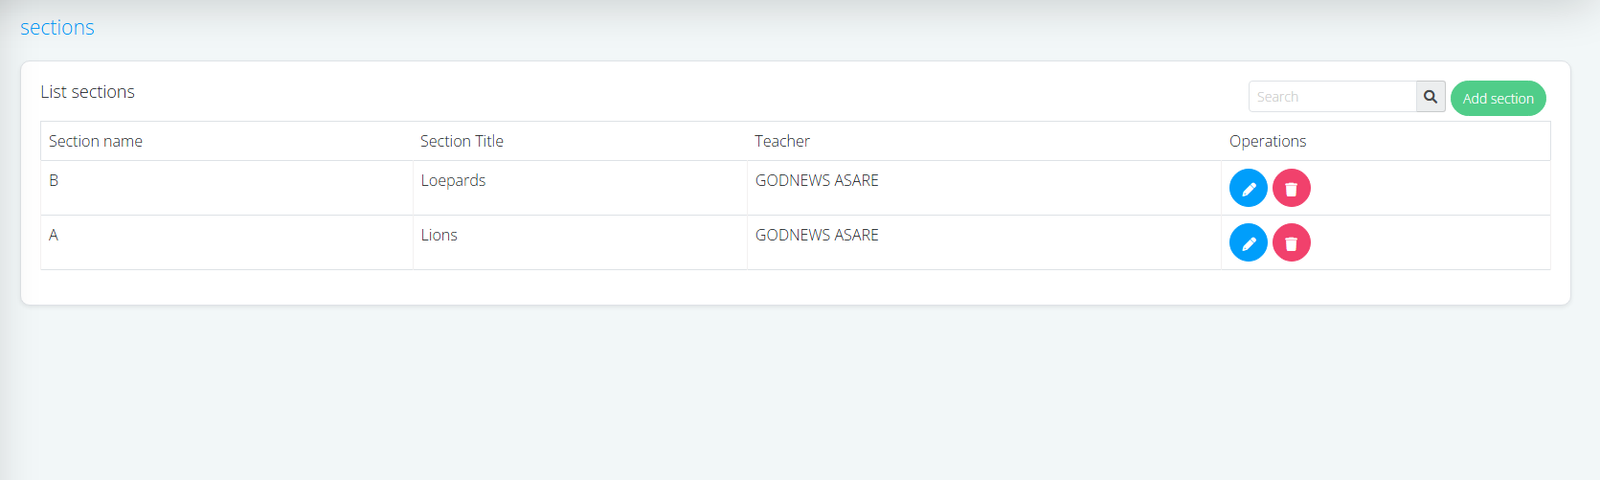
5) Classes & Sections
Create Classes and assign teachers and associated subjects to each class. Section are only applicable when you have sections in your school
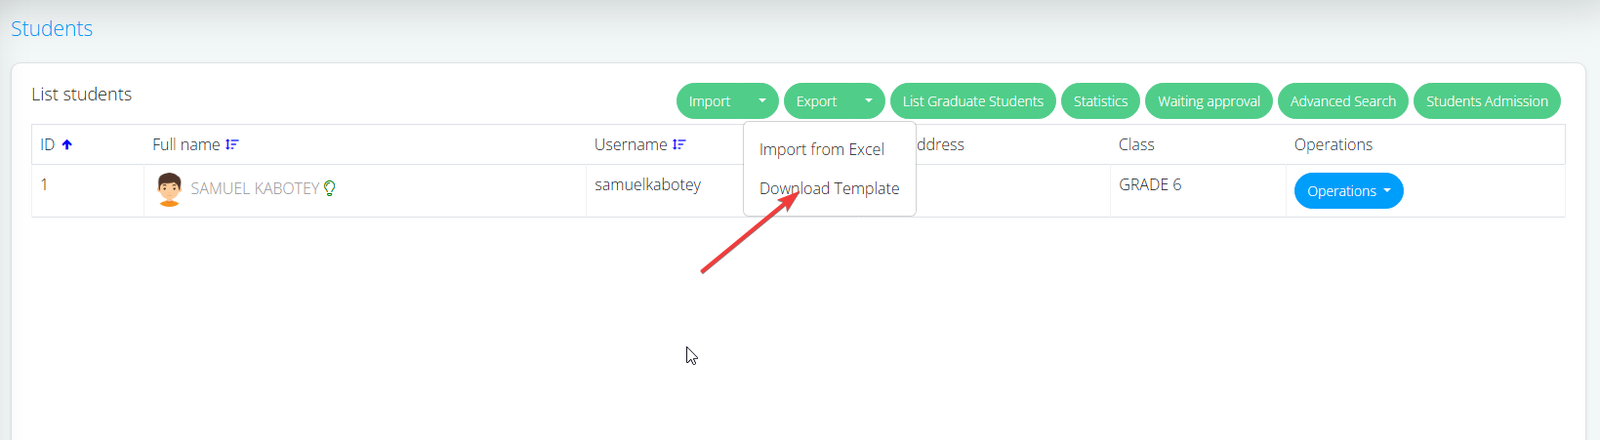
6) Students
Download template to import students or register one by one.
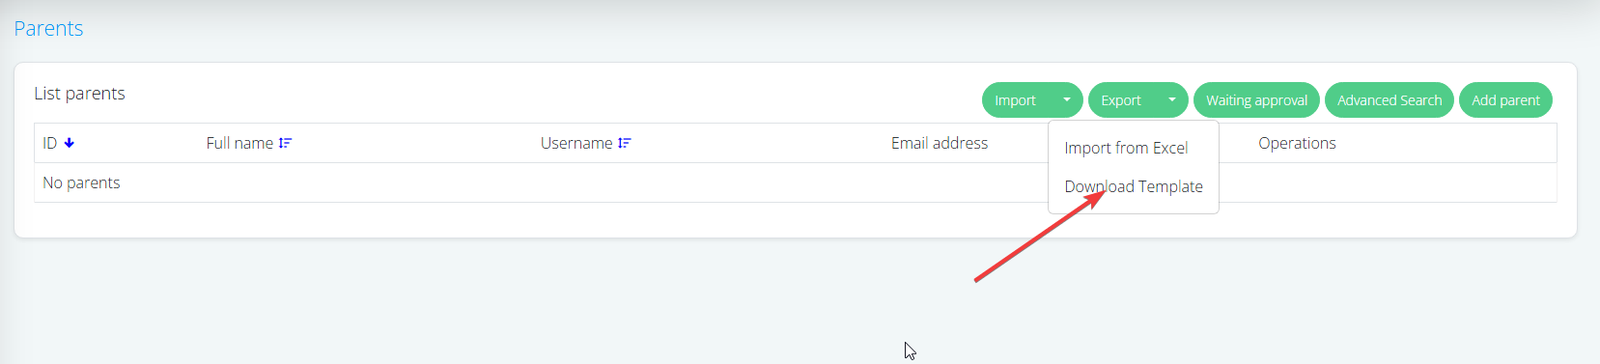
7) Parents
Download template and import parents data.
NB: ALL OTHER MODULES ARE DEPENDANT ON THE ABOVE PARAMETERS.
CONGRATULATIONS
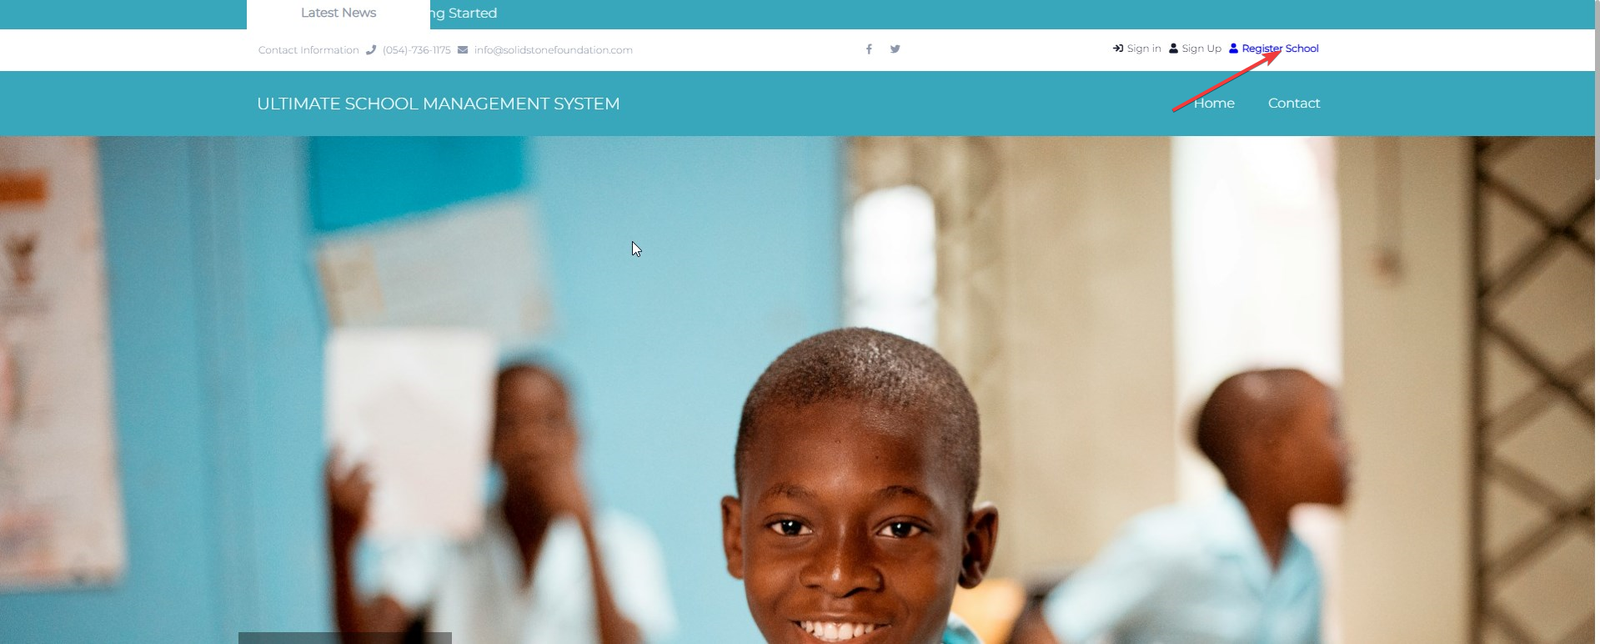
Getting Started (School registration and Subscriptions procedure)
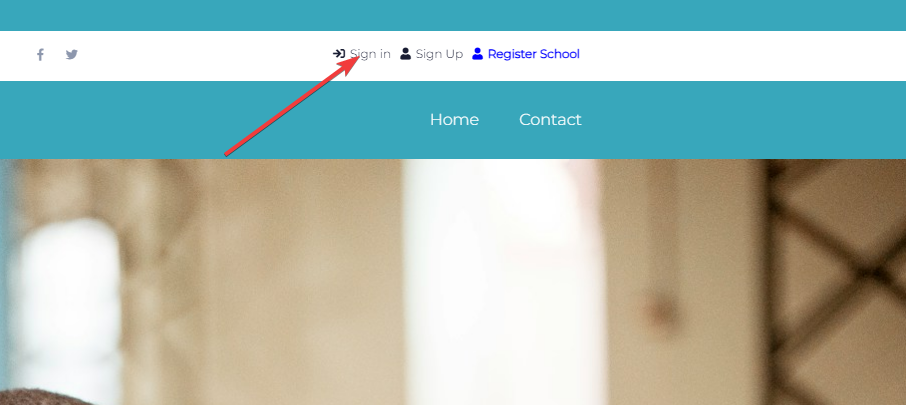
1) To get started, you have to register your school by clicking on the Register School Button.
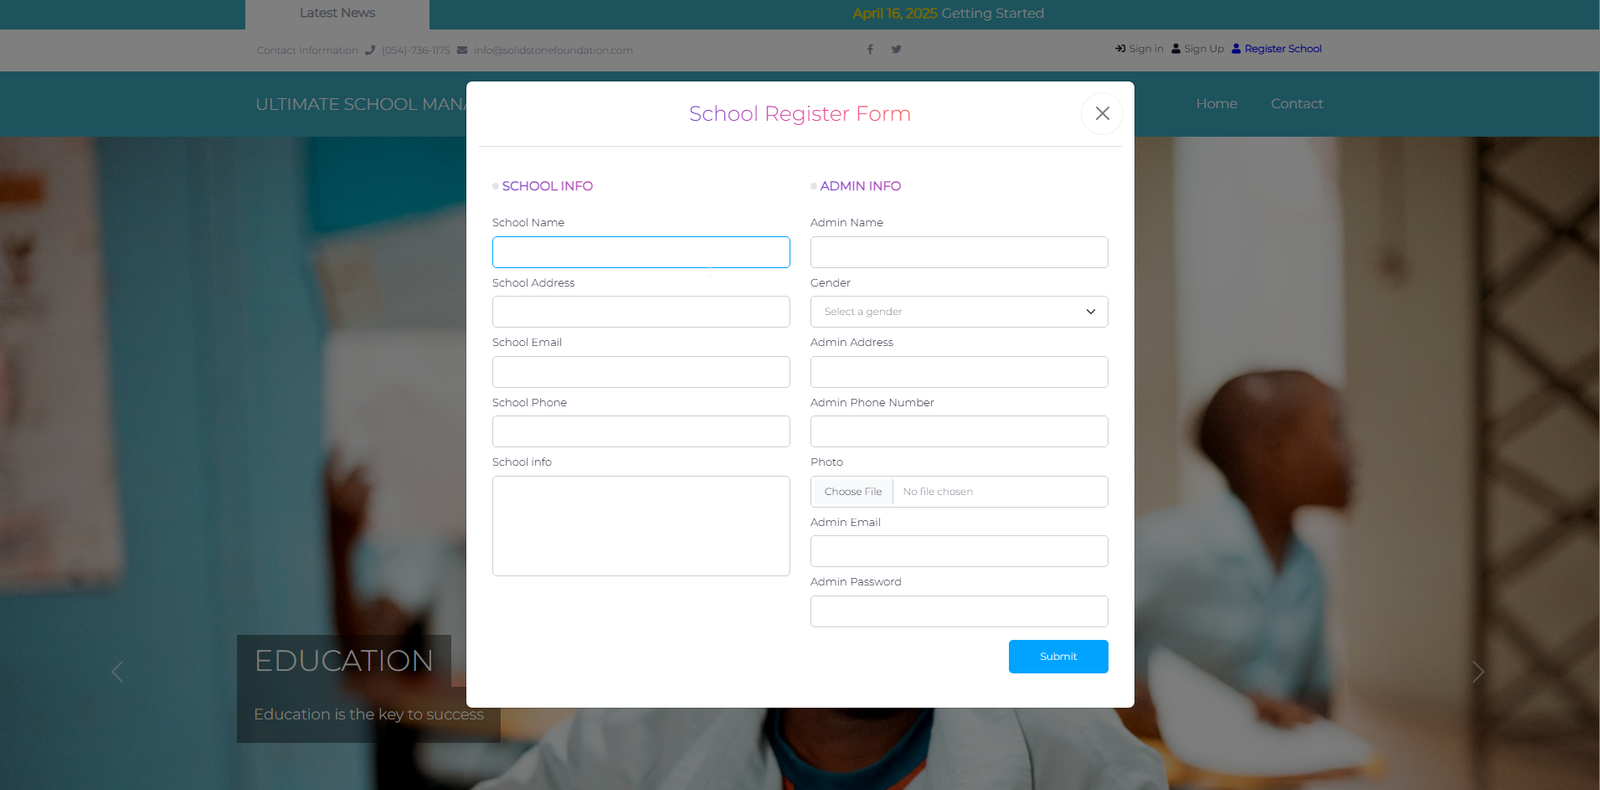
2) The school registration modal has two sections, the School details section and the Administrators section. Provide all the required information and click on the submit button
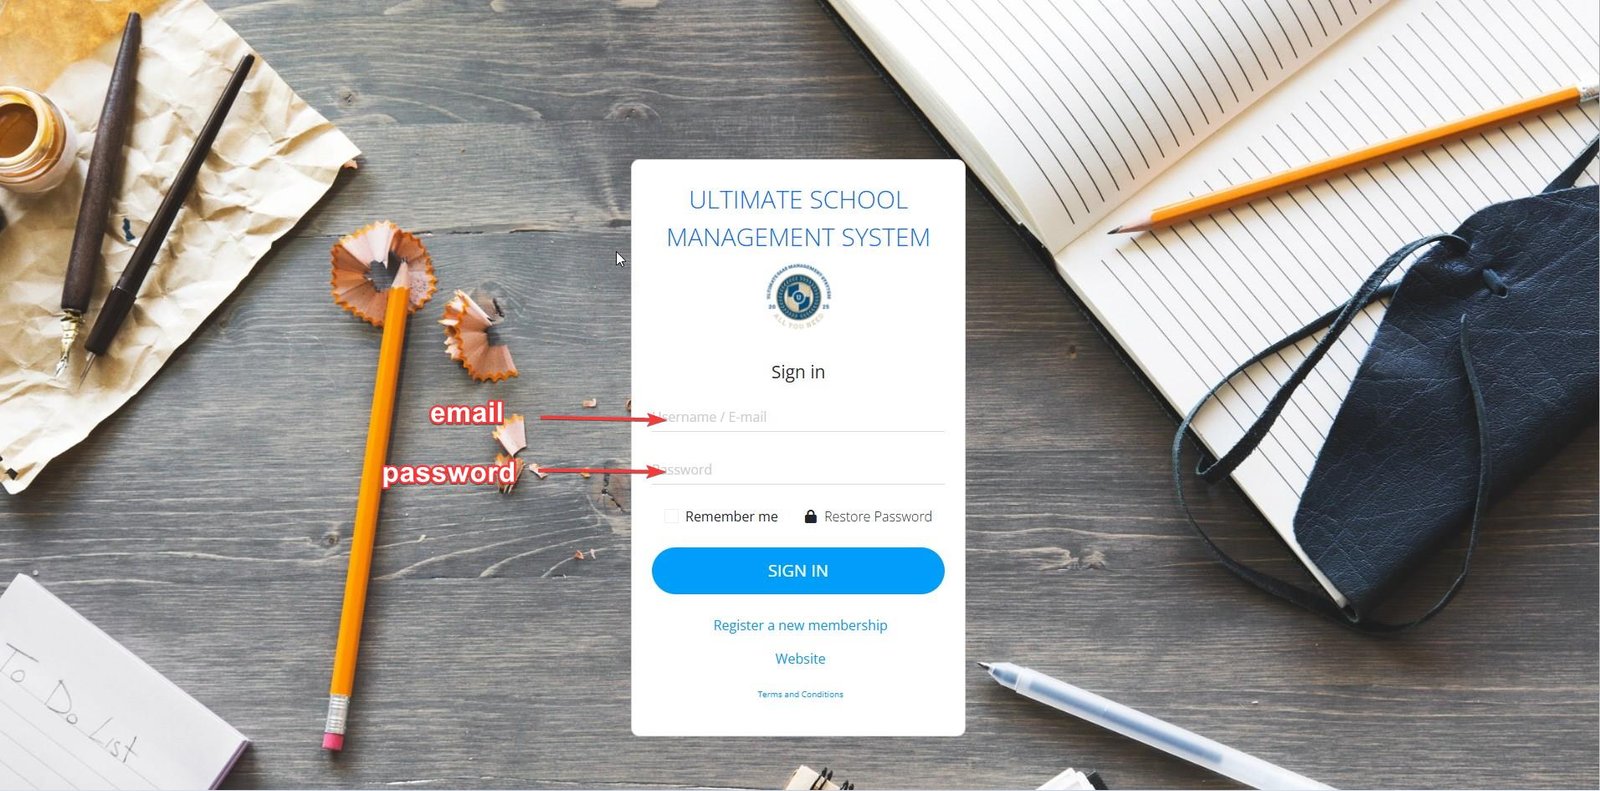
3) After successfully creating your school, click on the sign in to log into your schools account
4) To log in into your account, provide the admins email and password you used when registering your school.
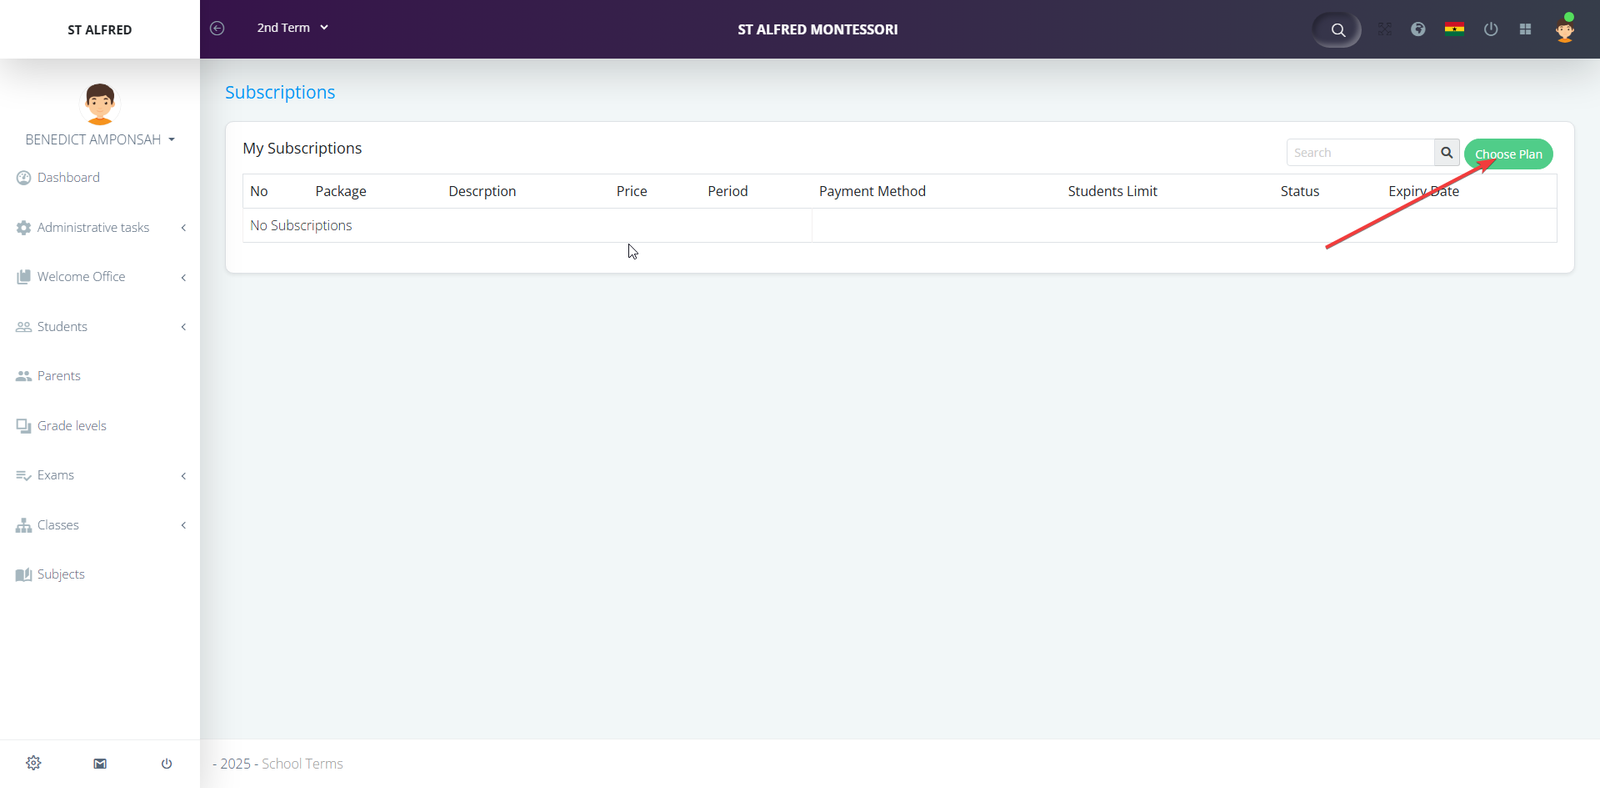
5) Once you are authenticated, you will be redirected to subscriptions page. Click on the choose plan button on the upper right corner.
6) Once you land on the subscriptions page, you choose the package that suits your school. You also have a free Trail package to access all the features of the application. Note: All the work you do on a Trail plan will be deleted after the period expires. If you want to keep your work, upgrade before the trail period expires.
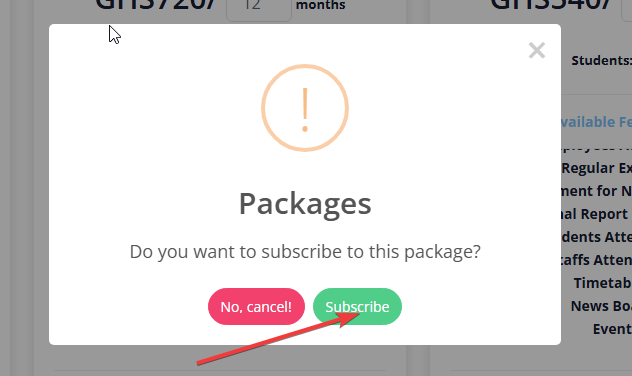
7) Choose the package you want and confirm the prompt dialog box
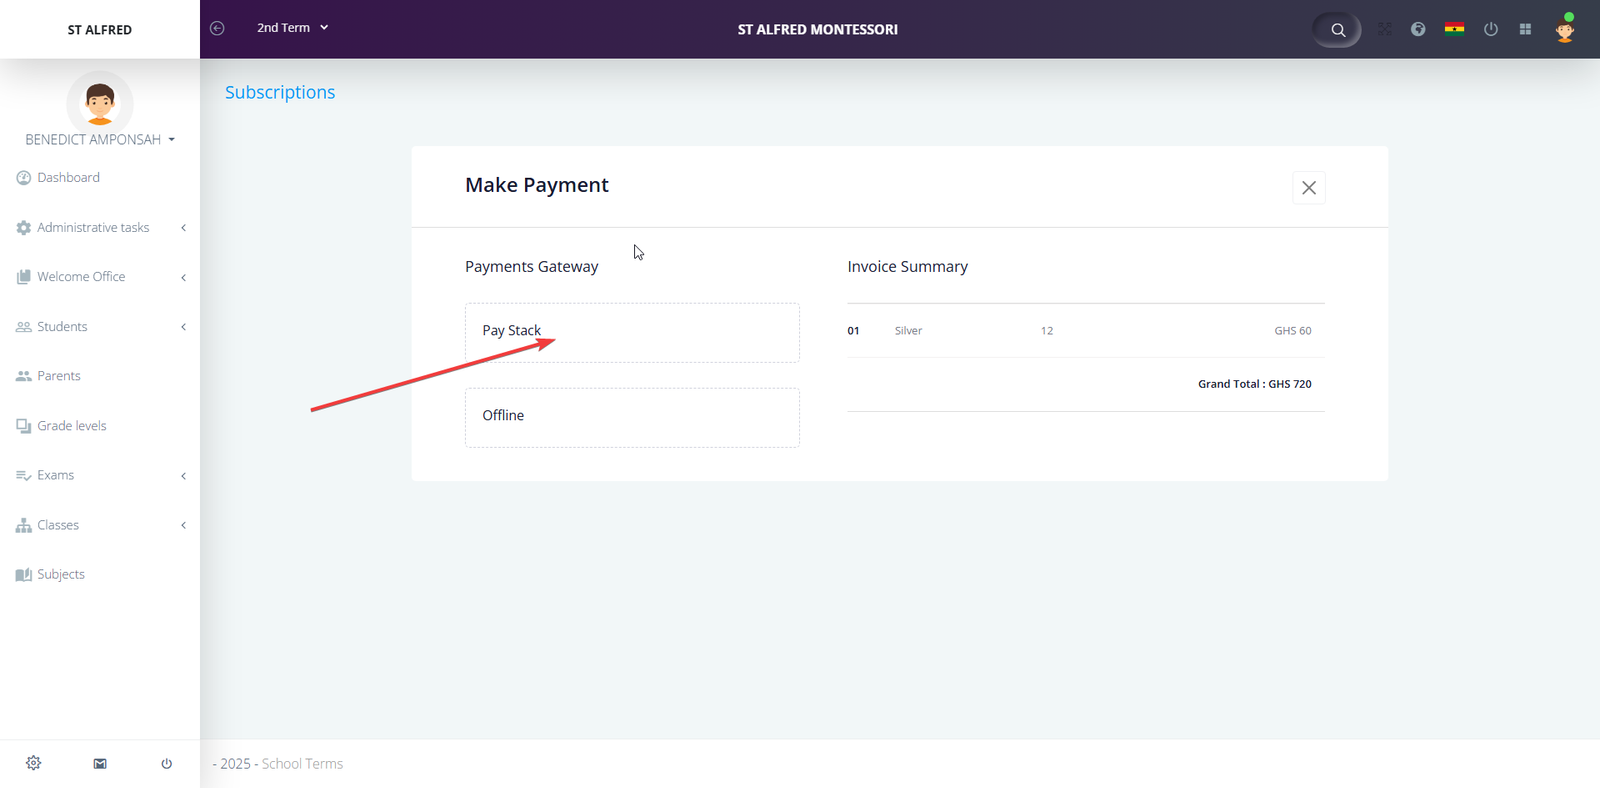
8) Now to make payment you have two options. You can either pay through paystack or pay offline.
a) Payment through Paystack.
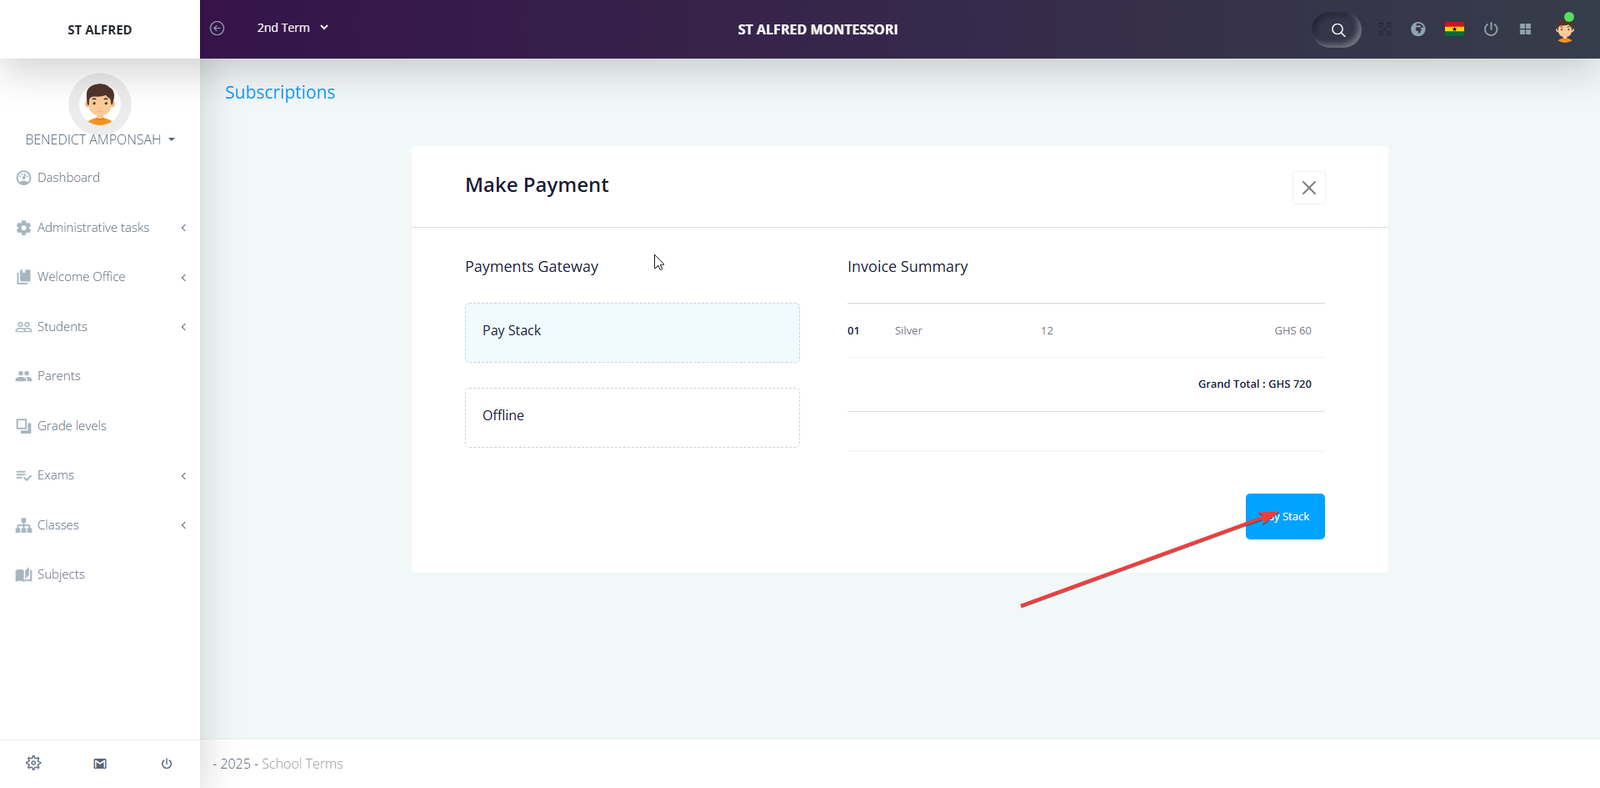
i) To pay through paystack, click on paystack and click on the blue paystack button.
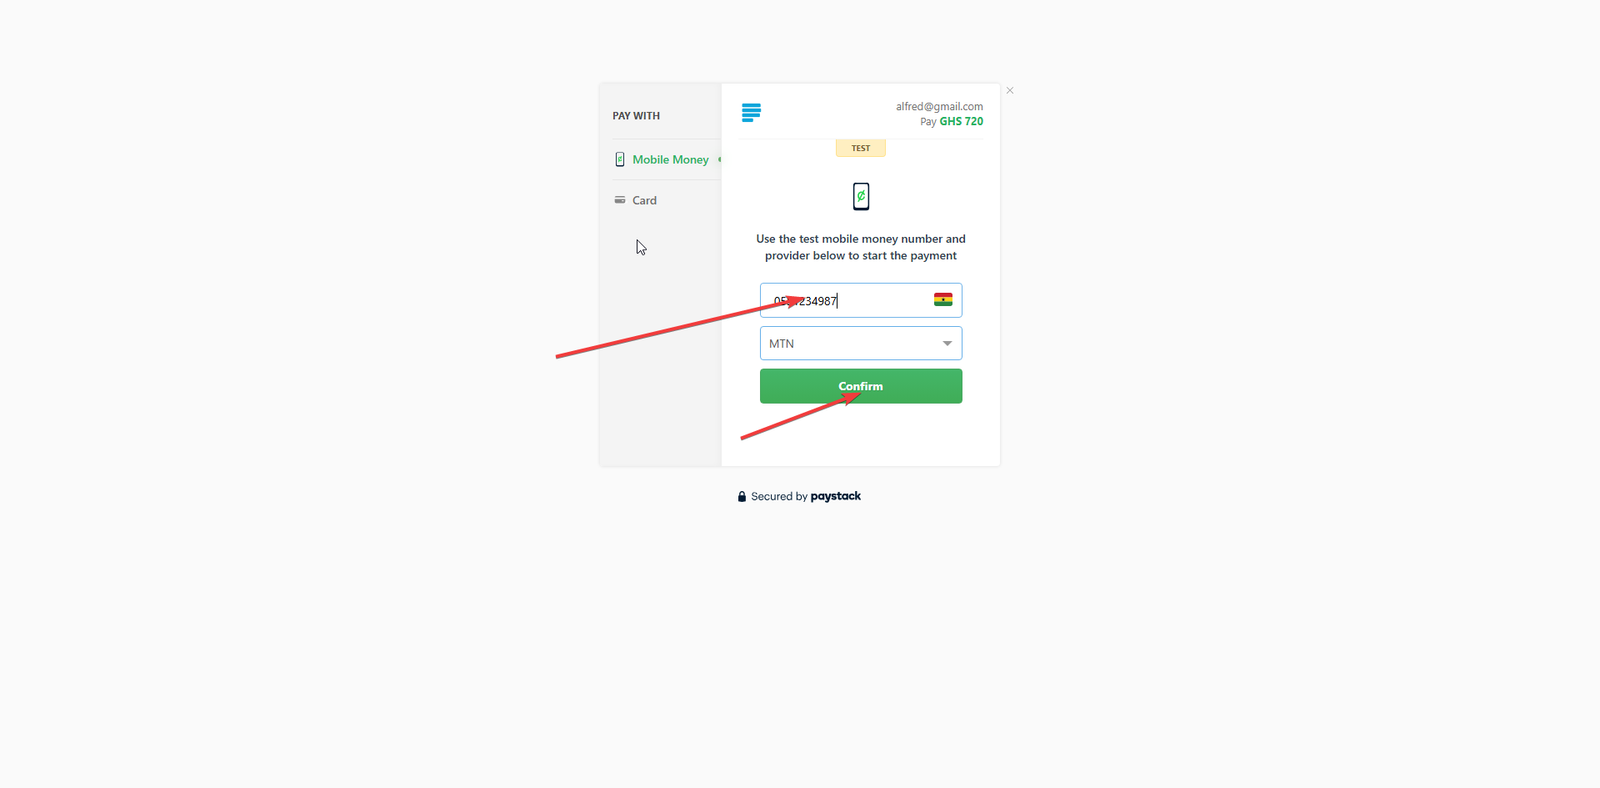
ii) Enter the number you want to pay with and confirm
iii) You will receive a prompt on your phone. Approve the transaction with your pin to make payment.
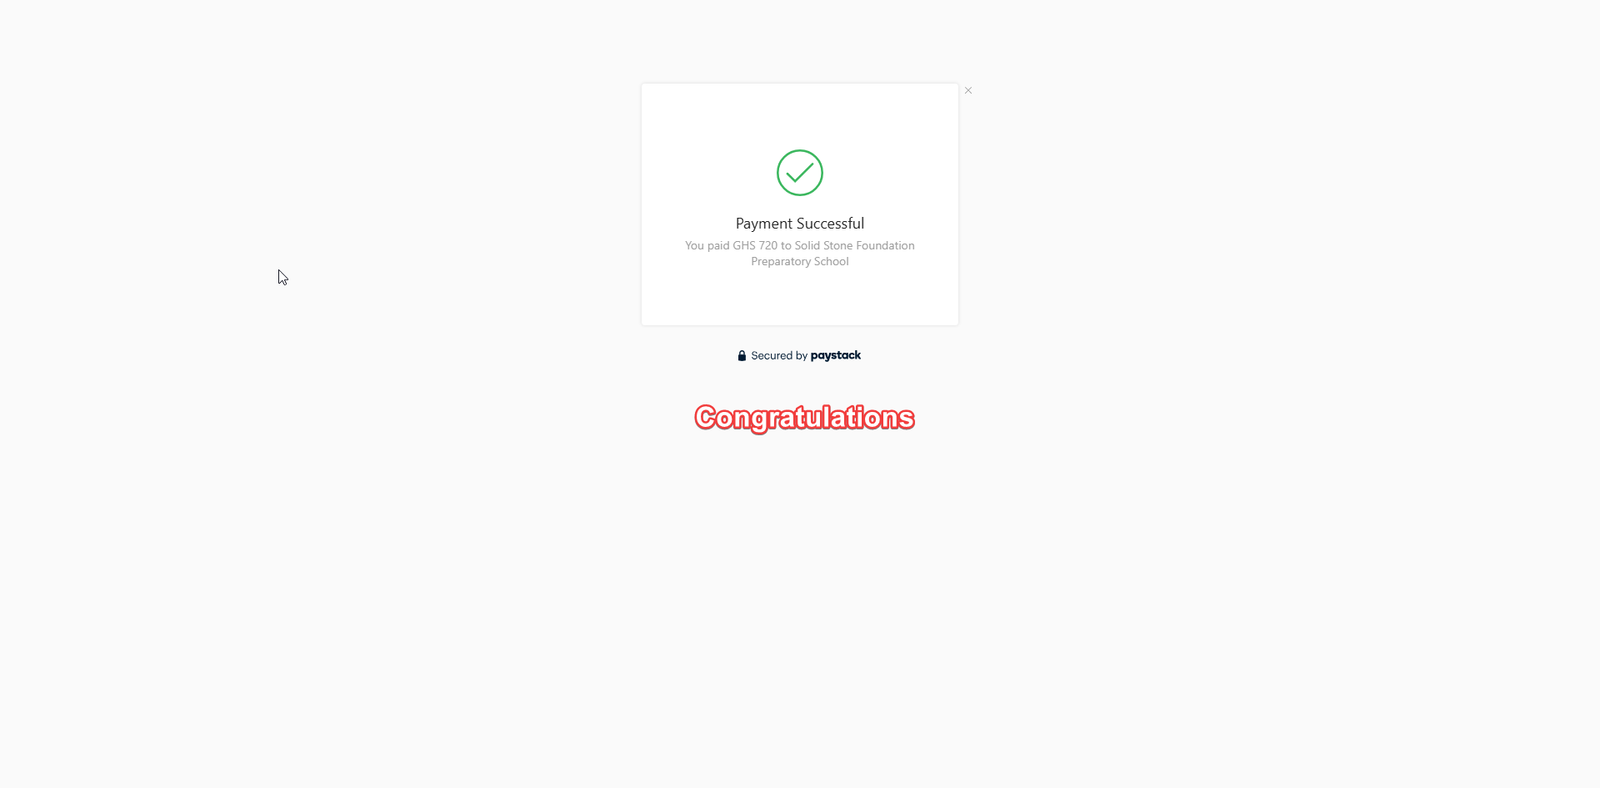
iv) After payment you will be redirected to Payment Successful screen. In case you are not redirected to this screen, click on i have made payment.
congratulations.
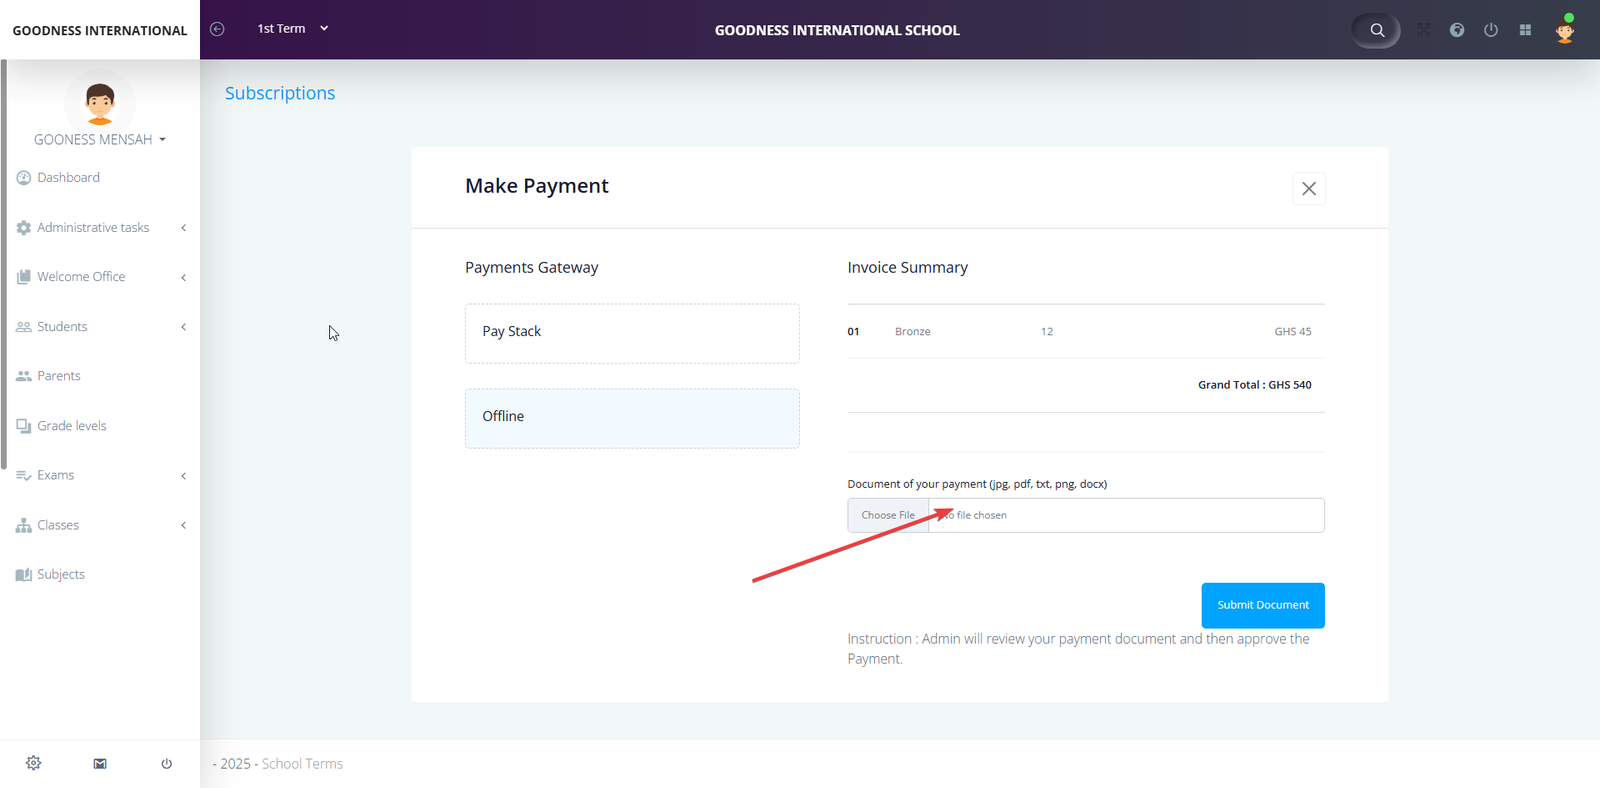
b) Offline Payment
i) Pay the amount to 0547361175 throught mobile money.
ii) Click on the pointed area to upoad payment evidence.
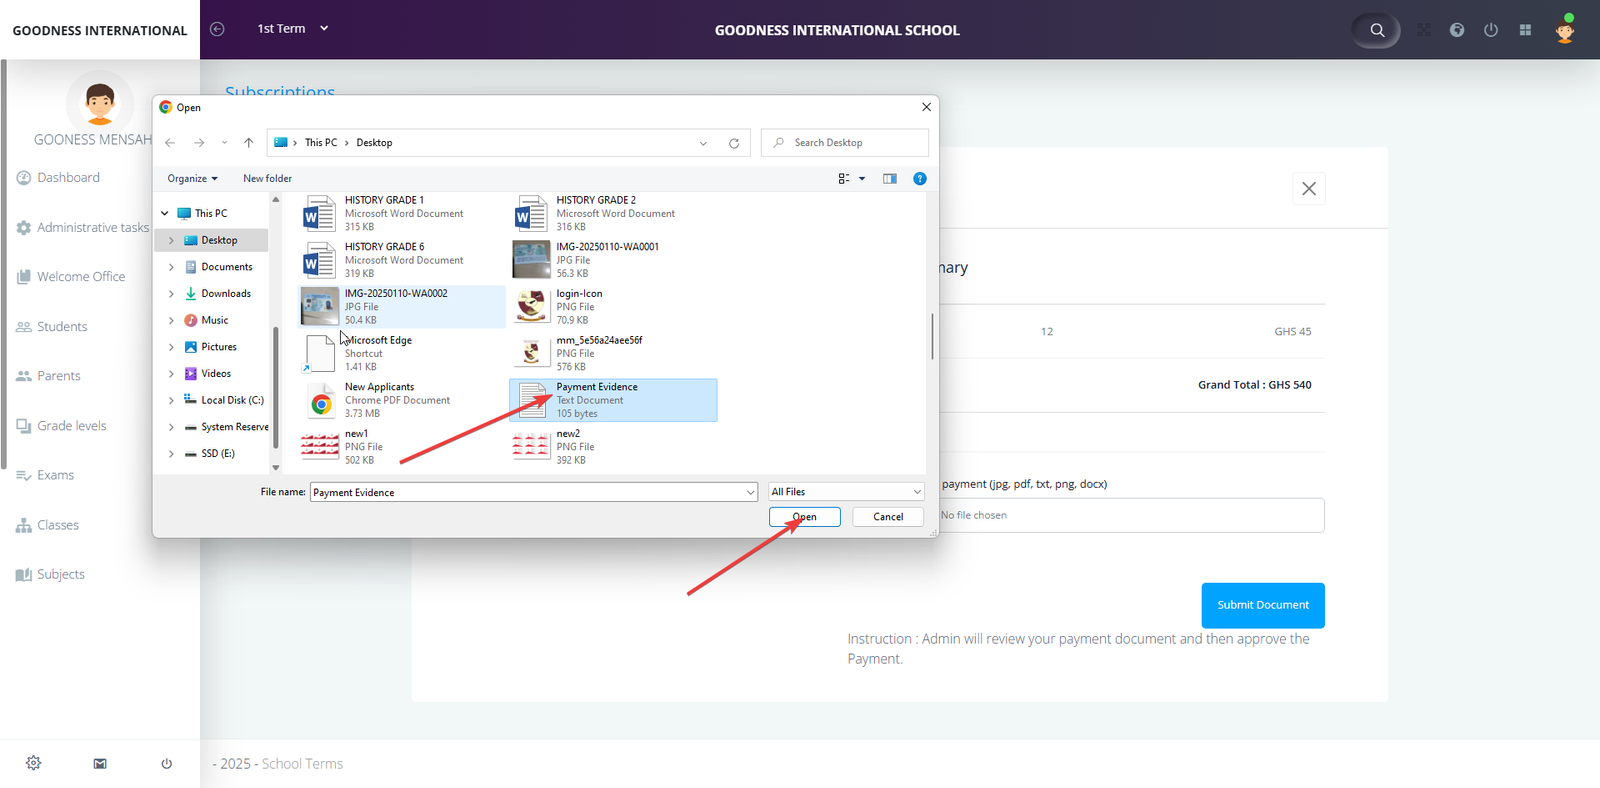
iii) Select the evidence and click on open.
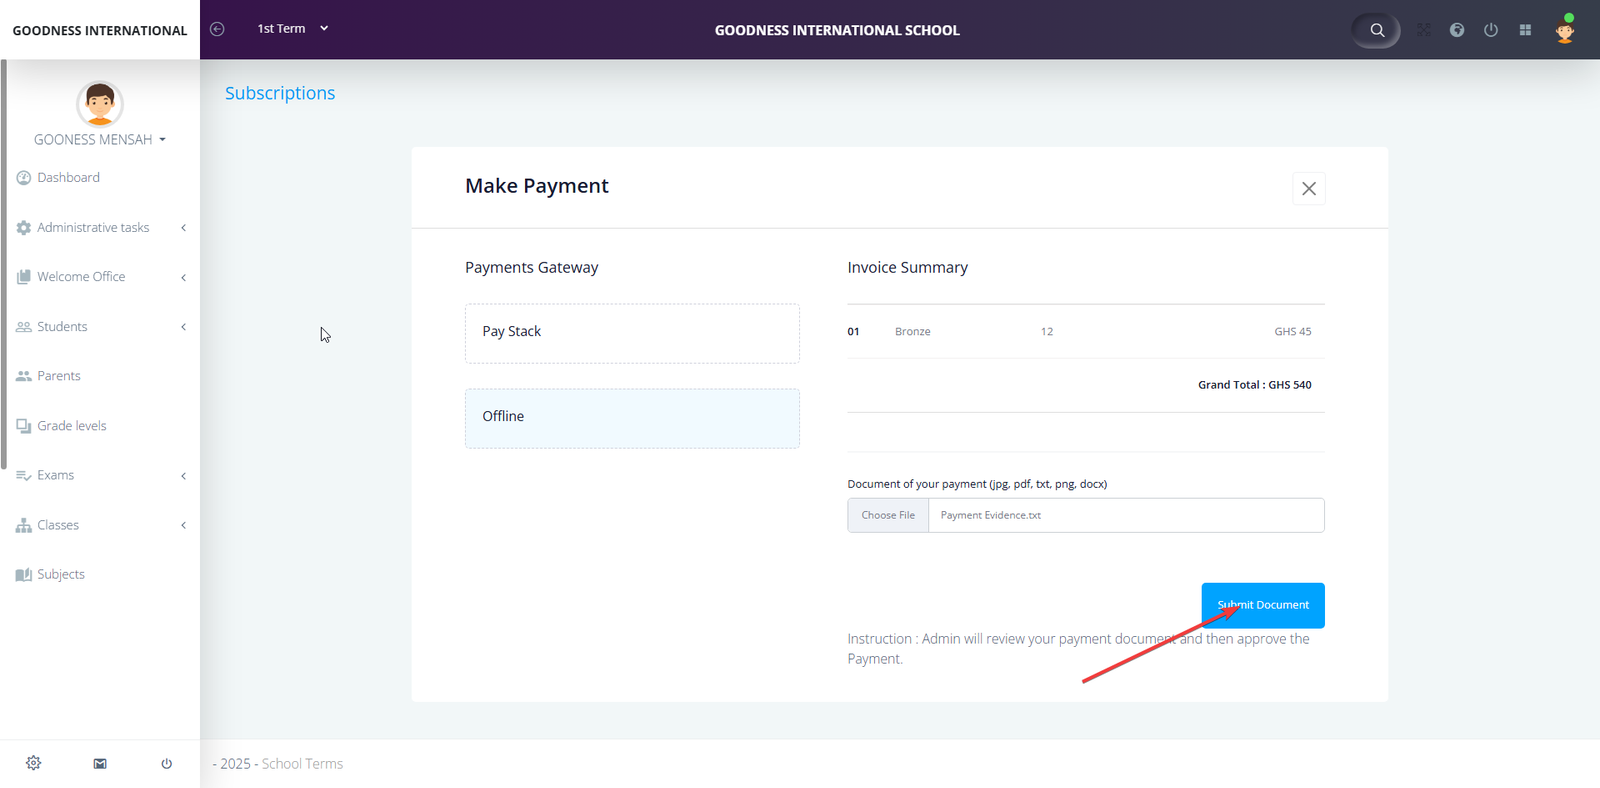
Finally click on submit document to complete process.
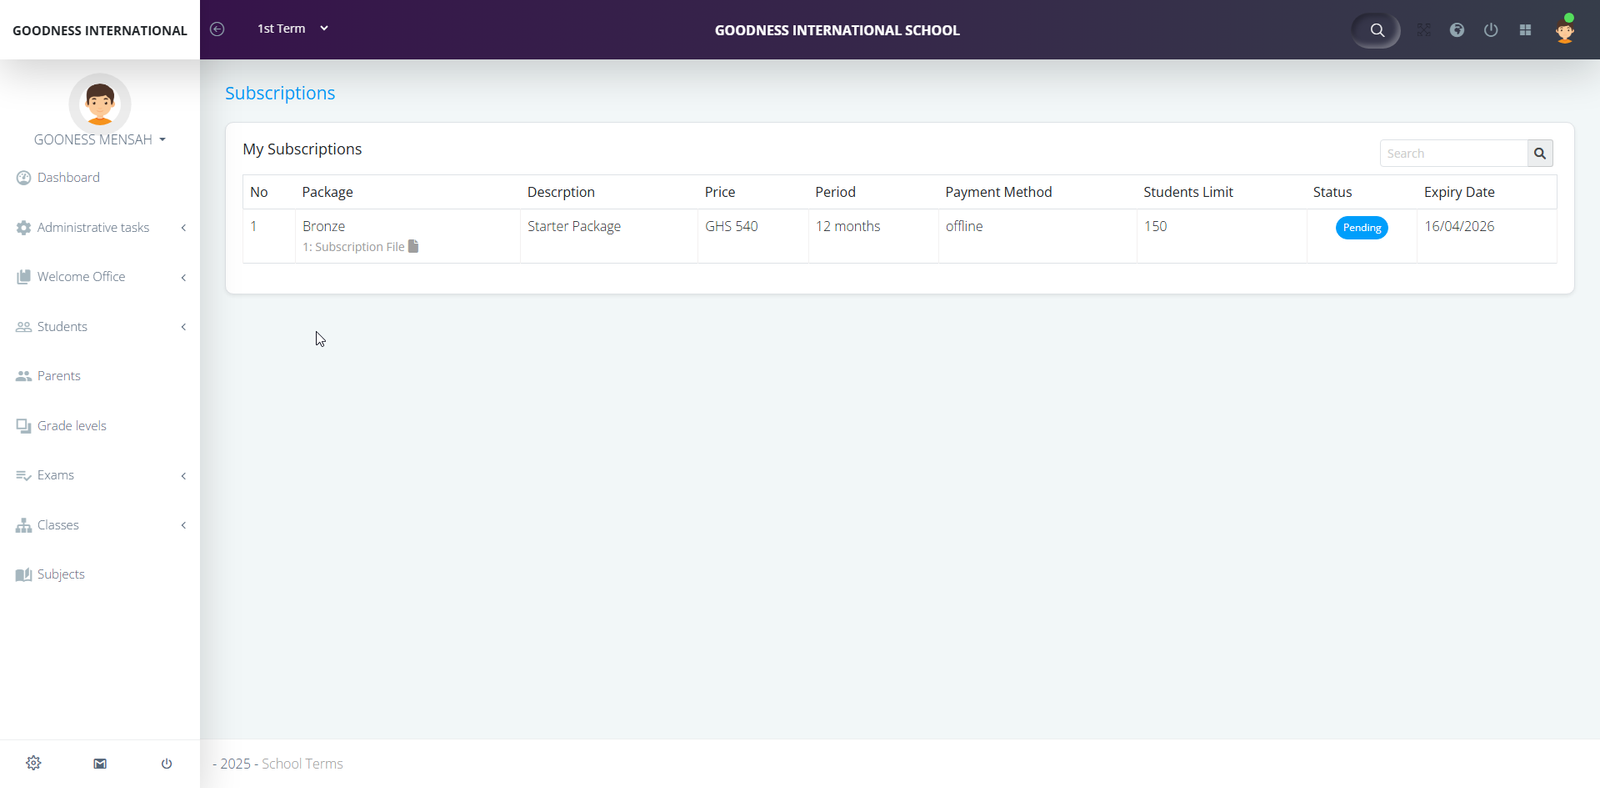
The system administrator will cross check your payment and approve your account.